Pie crusts, with their buttery, flaky goodness, are the foundation of many beloved desserts. But what if you or your guests have gluten sensitivities or celiac disease? The good news is that you can still enjoy the perfection of a pie crust without gluten. In this how-to post, we’ll guide you through the steps to make a gluten-free pie crust that’s just as delicious and satisfying as its traditional counterpart.
Ingredients:
For a gluten-free pie crust, you’ll need:
- 1 1/4 cups gluten-free all-purpose flour mix (choose a trusted brand)
- 1/2 teaspoon salt
- 1/2 cup unsalted butter, cold and cut into small pieces
- 3-4 tablespoons ice water
Instructions:
Step 1: Keep It Cold
Like any pie crust, the key to a great gluten-free pie crust is working with cold ingredients. Start by ensuring that your butter and water are very cold. You can even chill the gluten-free flour mix for a short while in the refrigerator.
Step 2: Mix the Dry Ingredients
In a mixing bowl, combine the gluten-free flour mix and salt. Stir them together.
Step 3: Cut in the Butter
Add the cold, cubed butter to the gluten-free flour mixture. Use a pastry cutter, two knives, or your fingers to cut the butter into the flour. You’re aiming for a mixture with pea-sized butter pieces.
Step 4: Add Water
Drizzle ice water, one tablespoon at a time, over the gluten-free flour and butter mixture. Gently stir the mixture with a fork or your fingers after each addition. Stop adding water when the dough begins to come together.
Step 5: Form the Dough
Gather the gluten-free dough into a ball, being careful not to overwork it. If there are still some dry, crumbly bits, that’s okay. You can press them in when you roll out the dough.
Step 6: Chill the Dough
Flatten the dough into a disk, wrap it in plastic wrap, and refrigerate it for at least 30 minutes. This allows the gluten-free dough to rest and become more workable.
Step 7: Roll It Out
Once the gluten-free dough has chilled, place it on a lightly floured surface. Roll it out from the center to the edges, turning it a quarter-turn between rolls. This ensures even thickness.
Step 8: Transfer to Pie Dish
Carefully roll the gluten-free dough around your rolling pin and unroll it over your pie dish. Gently press it into the dish.
Step 9: Trim and Crimp
Trim any excess dough from the edges, leaving about an inch of overhang. Fold this overhang under the edge of the gluten-free pie crust and crimp it to create a decorative border.
Step 10: Prebake or Fill and Bake
Depending on your pie recipe, you might need to prebake the gluten-free pie crust or fill it and then bake the whole pie. Follow your specific pie recipe for instructions.
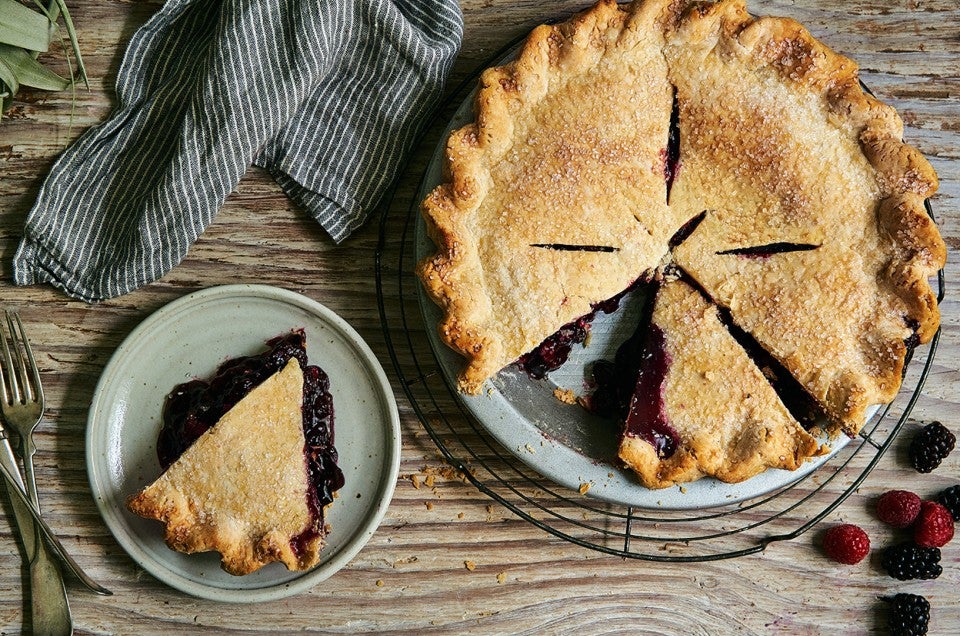
With this step-by-step guide, you can create a gluten-free pie crust that’s every bit as flaky, tender, and delicious as traditional pie crusts. Whether you’re making a fruit pie, a savory quiche, or a luscious chocolate cream pie, your gluten-free crust will be the perfect foundation for your culinary creations. Enjoy the delight of pie-making without worrying about gluten, and savor every delectable bite.